This guide will walk you through the basic setup of a 3D camera track in NukeX.
– Tracker setup
– Track and Solve
– Creating the 3D scene
– Two Viewers
– Ground plane and scene orientation
– Positioning of dummy objects
– Optional: Improving Track and Solve
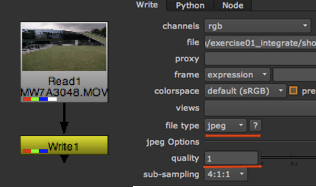
Preparing the footageWe generally prefer to work with image sequences rather than video files (such as mp4 or avi). Especially if sharing across platforms, it’s highly recommended to convert footage to an image sequence first. JPEG with quality 1 (= 100%) is good enough for tracking. |
 |
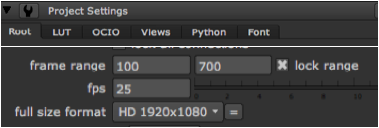
Project settingsCheck your Project Settings (Hotkey S), in most cases we set the full size format to the size of our source footage. |
 |
| Start by adding the CameraTracker node to your footage. Requires NukeX. | 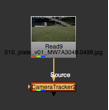 |
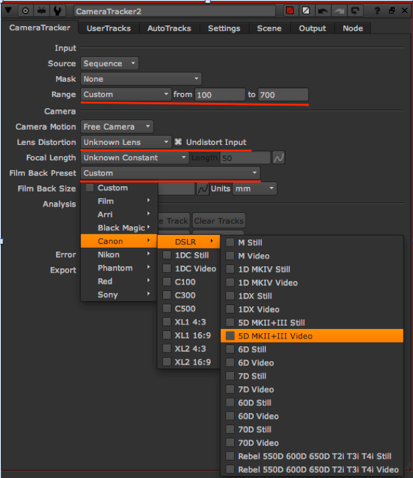
Tracker setupRange: Decide which frame range to track. More frames will take longer to analyze but will often give better results. Lens Distortion: Set to Unknown Lens and tick Undistort Input Film Back Preset: If you know the camera, select accordingly from the drop-down menu. I shot on a Canon 5D MarkIII |
 |